Many PI consultants consider ABAP mapping to be very complex and hence avoid using it. However in reality it is pretty easy. With this easy to follow step-by-step guide, ABAP mapping will be a cakewalk. Java and XSLT mapping is already made simple for you earlier. Now lets master some ABAP stuff.
In SAP PI, ABAP Mapping is not enabled by default. We need carry out some configuration to register the ABAP Mapping in the Exchange Profile. The step by step procedure of doing this is explained in this article: How to register ABAP Mapping in Exchange Profile. Make sure this is done before you proceed any further.
Writing Your First ABAP Mapping Class
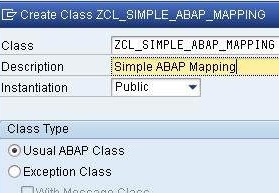
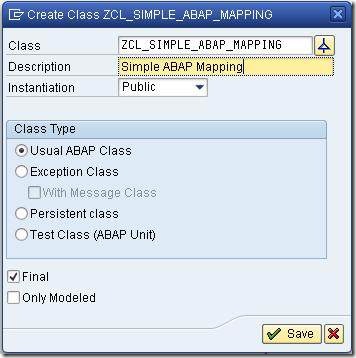
Logon to your the ABAP stack on your SAP PI system and create a new ABAP objects class using ABAP Workbench (transaction SE80).

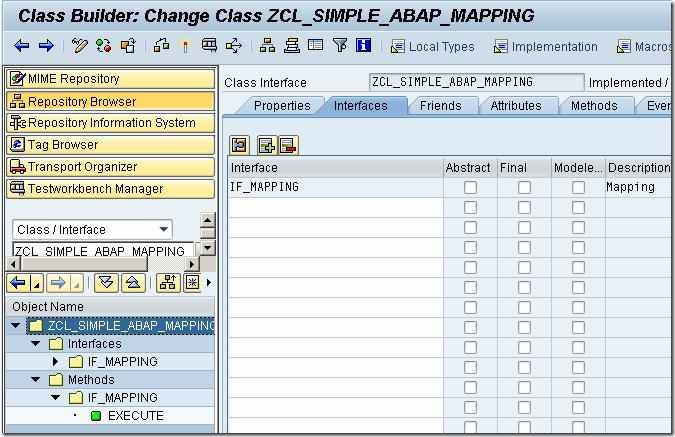
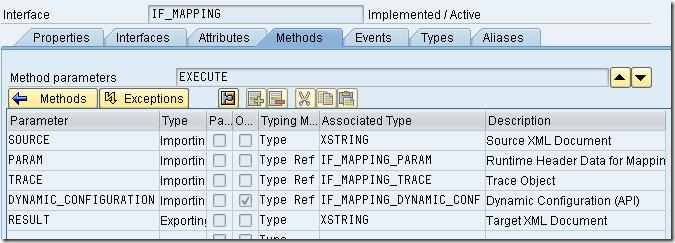
This class must implement interface IF_MAPPING of package SAI_MAPPING.

The EXECUTE method of this class will serve as the ABAP Mapping program for our interface. The parameters SOURCE, PARAM, TRACE, DYNAMIC_CONFIGURATION, RESULT and exception CX_MAPPING_FAULT are available for use within the method.


All you need to do now is to write your transformation logic in ABAP within the EXECUTE method and use the class as mapping program in your Interface Mapping object.
Implementing ABAP mapping in SAP PI
Once your ABAP Class is ready and activated, define a new interface mapping. Specify source and target message interfaces and click on Read Interfaces option. Under the Mapping Program section, select the Type as Abap-class (if this mapping type is not visible, you need to register the ABAP mapping type in Exchange profile). Under the name field, type the name of the ABAP class that we created previously.

Save and activate the changes. Carry out rest of the configuration as usual and test your interface.
In the next article, I will provide an actual code walkthrough using a simple ABAP Mapping example.