Context handling is an important technique to map complex scenarios in XI. This article introduces the basics of context handling using a simple example.
Message mapping in XI works by means of queues. A queue contains an entire XML instance of the source message. Depending on the hierarchy in the source message, different nodes and elements can be categorised into different contexts. All the nodes and elements that belong to the same parent node are said to be in the same context. Hence, the nodes and elements that belong to different parent nodes have to be separated by a context change.
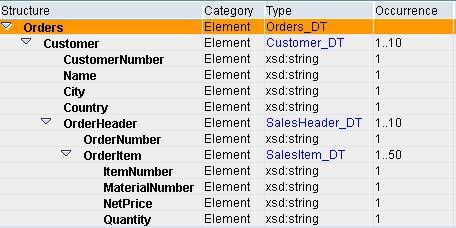
XI provides various node functions for context handling during message mapping. Let us understand the concept of contexts using a simple example. Consider the source message shown below:
Elements ItemNumber and MaterialNumber belong to the same parent node OrderItem, and hence are in the same context. Also, node OrderItem and element OrderNumber are under the same parent node OrderHeader, and hence are in the same context. Whereas, as elements ItemNumber and OrderNumber belong to different parent nodes, they fall under different contexts.
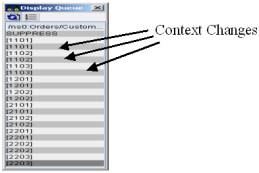
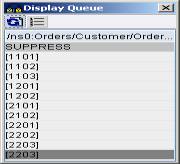
Following figure shows the OrderItem context. Context change is inserted after every occurrence of OrderItem. Grey coloured rows correspond to context changes.
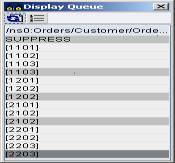
Following figure shows the OrderHeader context. Context change is inserted after every occurrence of OrderHeader.
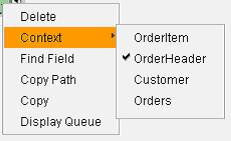
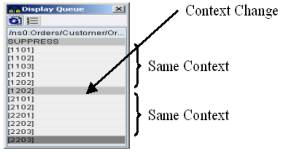
Similarly, using the Customer context, inserts a context change after every occurrence of Customer.
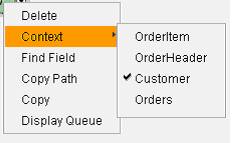
If the Orders context is used, no context changes will be inserted as Orders is at the highest level in the hierarchy.
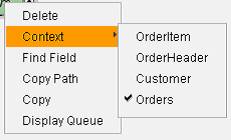
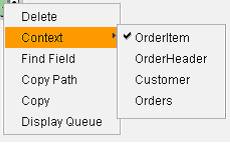
We can use explicit context selection as shown above or use the node functions available in the Graphical Mapping Editor.
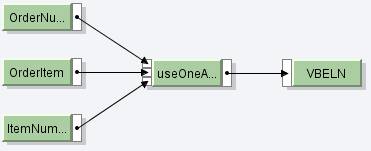
Let us take an example where the use of contexts can be emphasised. In the source message shown above OrderNumber appears only once while OrderItem can occur multiple times within the OrderHeader node. Suppose we want to map OrderNumber multiple times in the target message, such that it is available under the target node corresponding to every sales order item. To do this, we can use the node function called useOneAsMany as described below:
- The first input parameter expects the list of values that we want to propagate to the target message.
- The second input parameter expects the number of iterations or how many times we want to replicate the value given in the first parameter.
- The third input parameter is the list of context changes. Depending on this parameter the source values will be propagated to the target after every context change.
Note: For this function to work as expected, the first two parameters must contain the same number of contexts while the last two parameters must contain the same number of values.
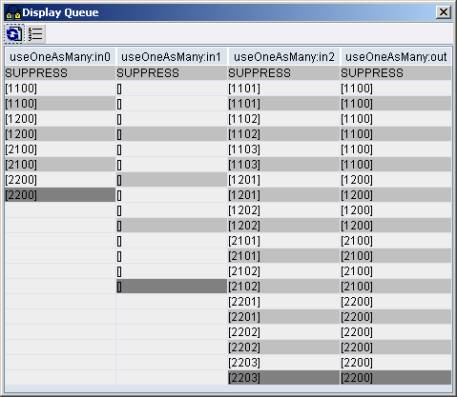
In our case, the first parameter is OrderNumber, since we want to assign value of this element to the field in the target structure. Second parameter is OrderItem as it corresponds to the number of times sales order items would occur in the target structure. Note that both these parameters have the same number of contexts (See figure below). The third parameter is ItemNumber, which indicates the number of context changes. ItemNumber uses OrderItem context by default (since, OrderItem is the immediate parent node of ItemNumber). Hence, the value of first parameter will be assigned to the target every time the context change occurs for ItemNumber. Also note that the second and third parameter has the same number of values (See figure below).
We can see that the value 1100 (first parameter) has been replicated three times (second parameter) at every context change in third parameter.
There are many other node functions available within the Graphical Mapping Editor to aid the context handling in different scenarios. Graphical Mapping Editor also allows you to write your own functions wherein you can use methods of predefined classes to handle contexts.
